Editing the Barong Dress in CLO3D
This is the first time I used CLO3D program. I always knew about it but never had the chance to try it out. and since there were only 30 days of trial I can use, I timed it so I can use it for this project. That is if the program is straight forward enough. It took a bit of tutorials before I got the hang of the program.
I didn’t get to take images of the the first few trials of the Barong dress on CLO. I didn’t think at this time that I would use CLO as part of my process. What I first did is started from a block we have at Massey. Transferred the file to Illustrator, then to clo. I explained this part in the Making of the Terno dress post. There I did the pattern the way I did in Accumark. Same results, same feeling.
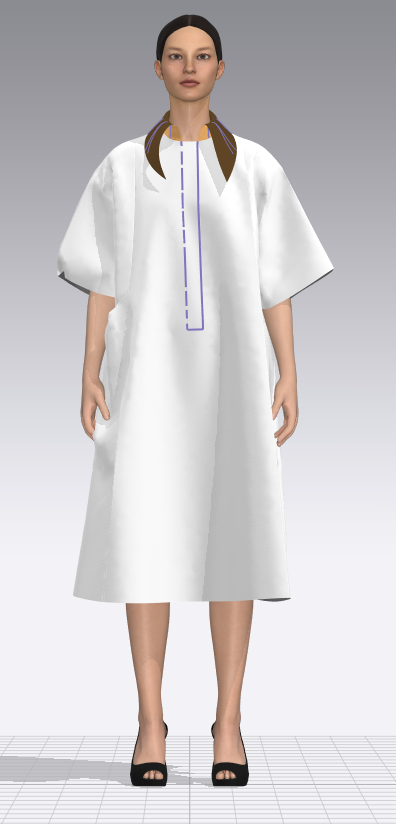
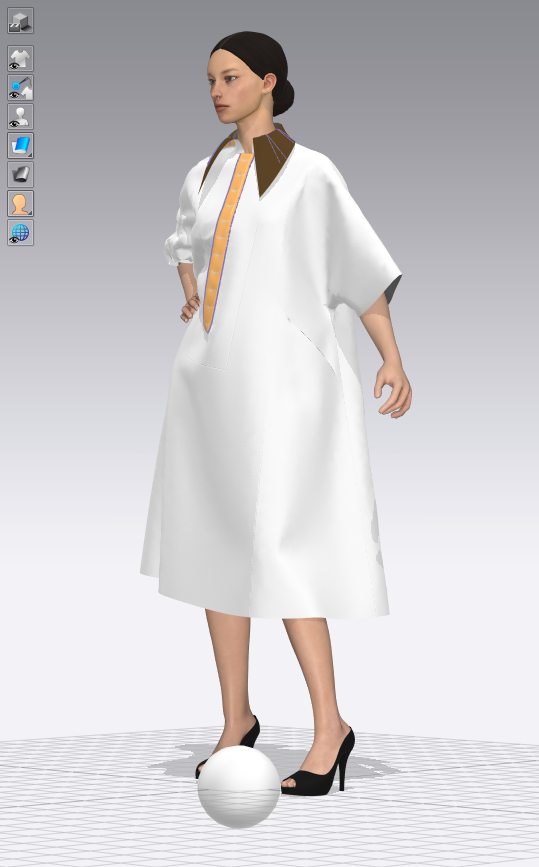
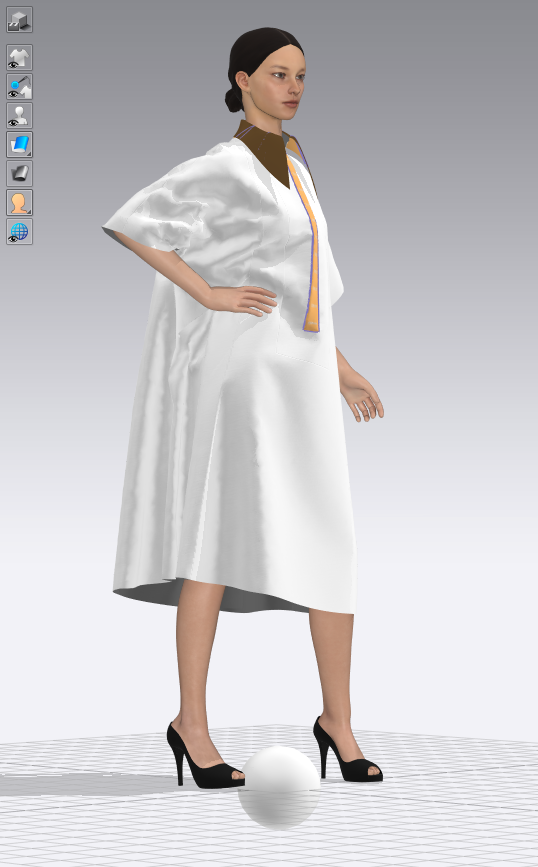
This is when I decided to make the design into a Kimono sleeve. I remembered from second year that the lower I open the sleeve up, might as well do a kimono. I don’t know why I didn’t start from here. I think I wanted a tailored shoulder look. But as I did it in CLO, it worked out better. I also wanted to add pockets, because, again, modern dress. And I played around in CLO where to place them.
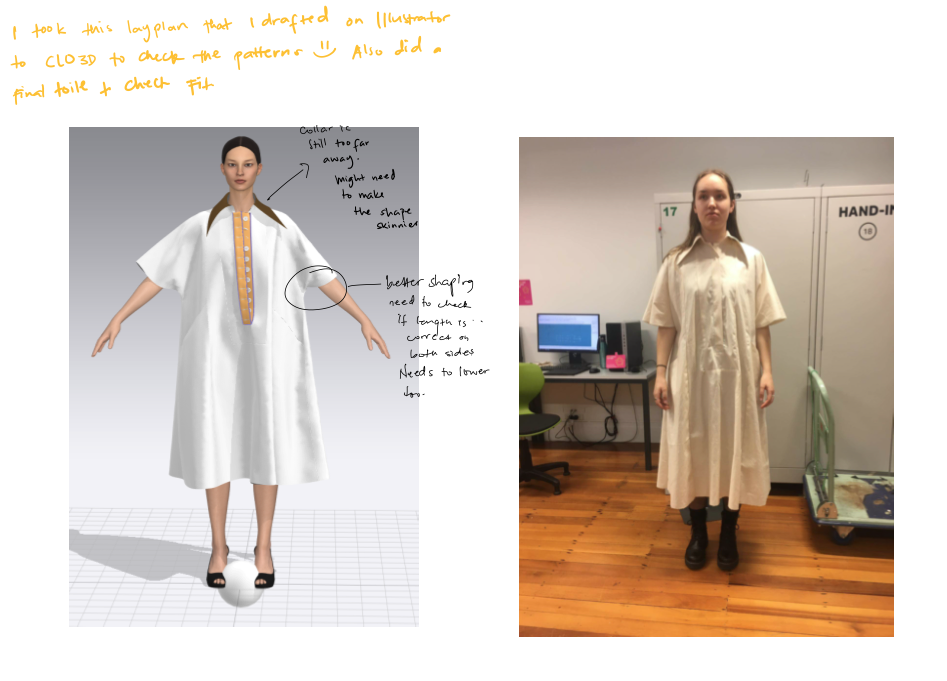
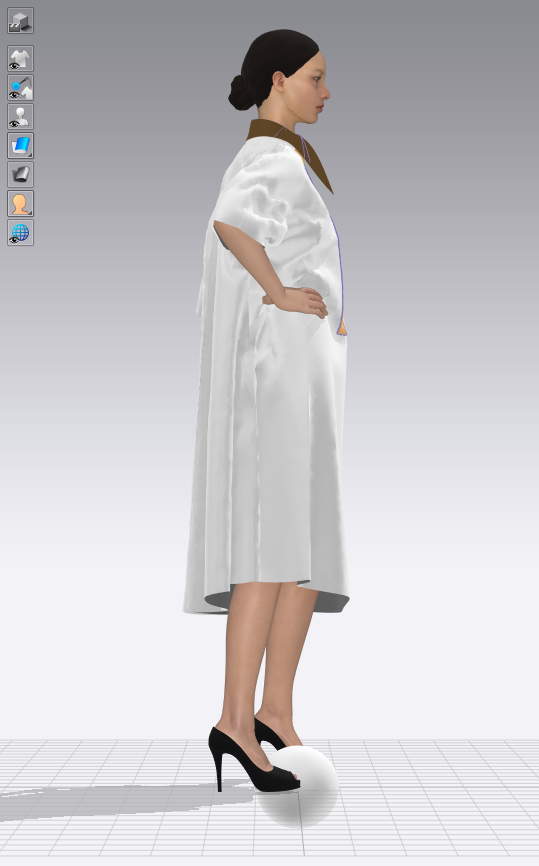
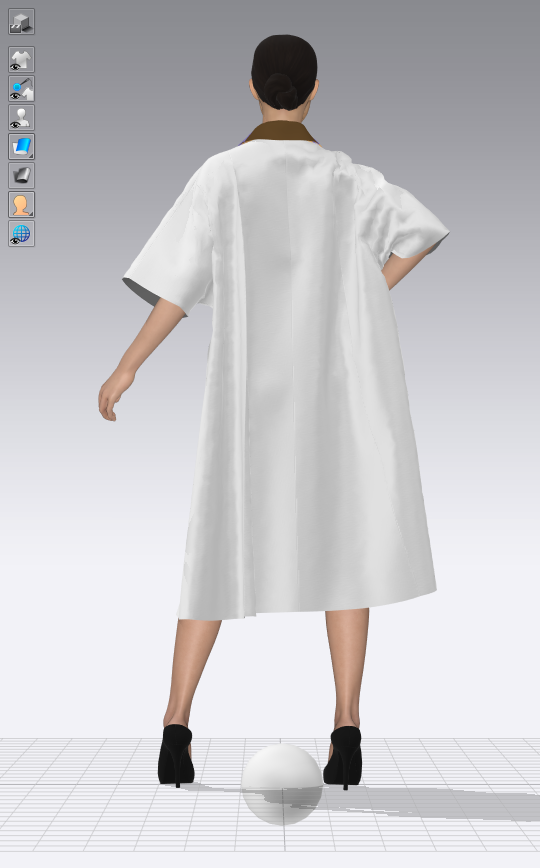
I went back to uni to change the patterns to a kimono style sleeve, added pockets, and applied it back to CLO to have a little bit more fun. This didn’t take long at all. But I was able to fix my patterns and placements in CLO before finalizing the patterns and making my final toile. Here are some of the ones I was able to record:
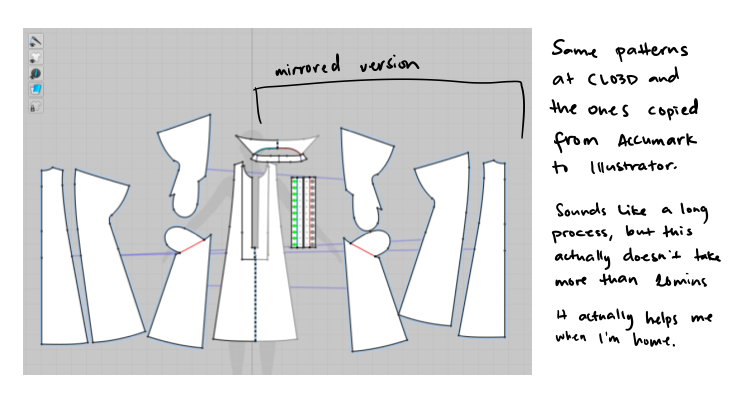
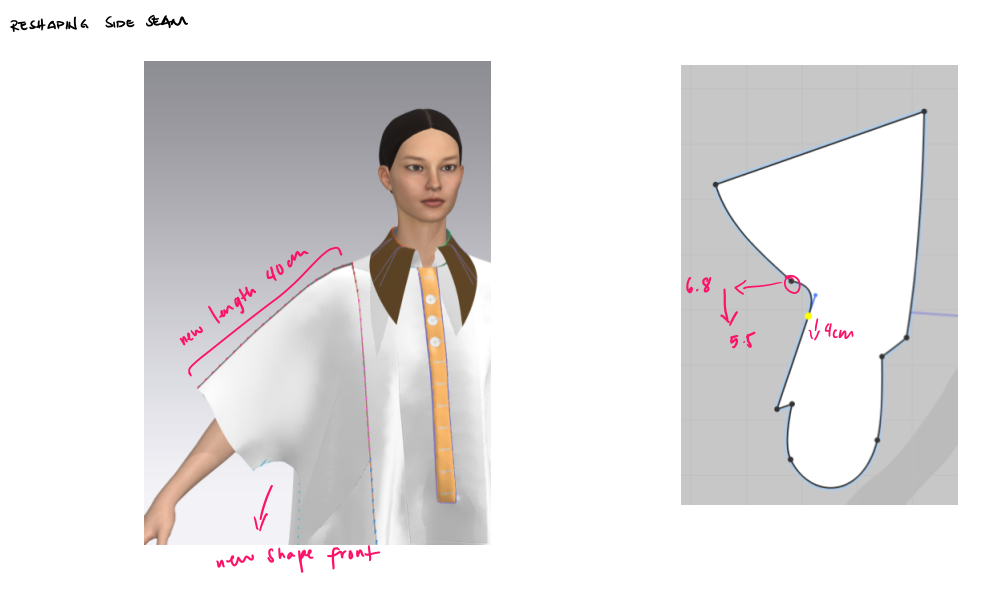
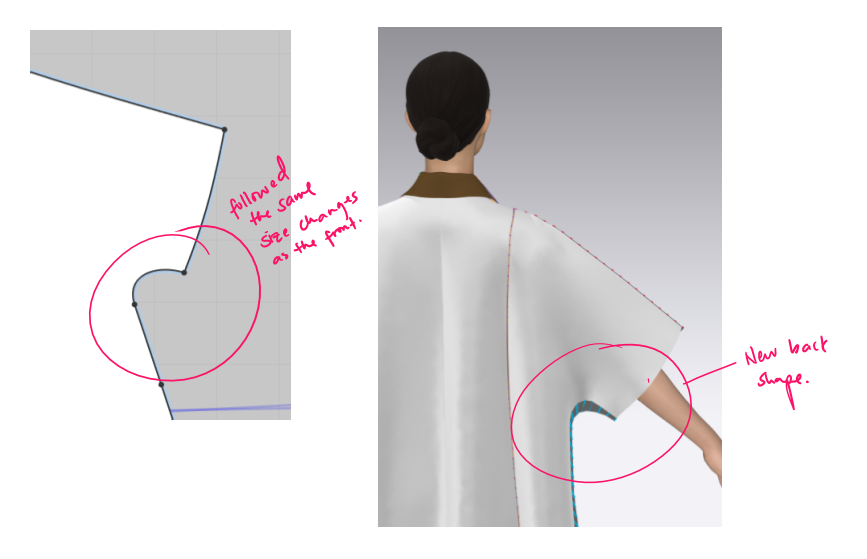
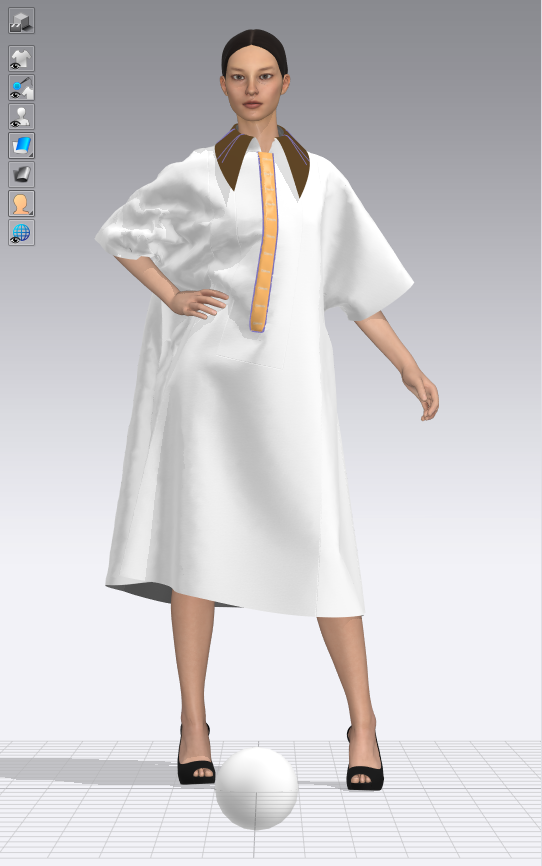
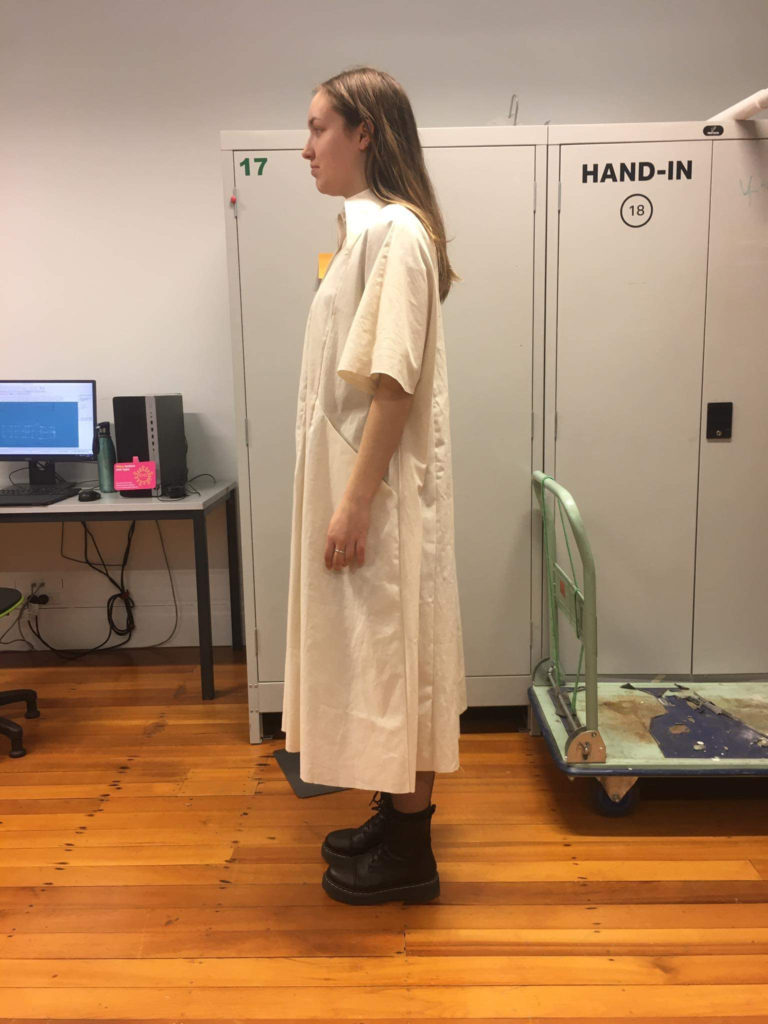
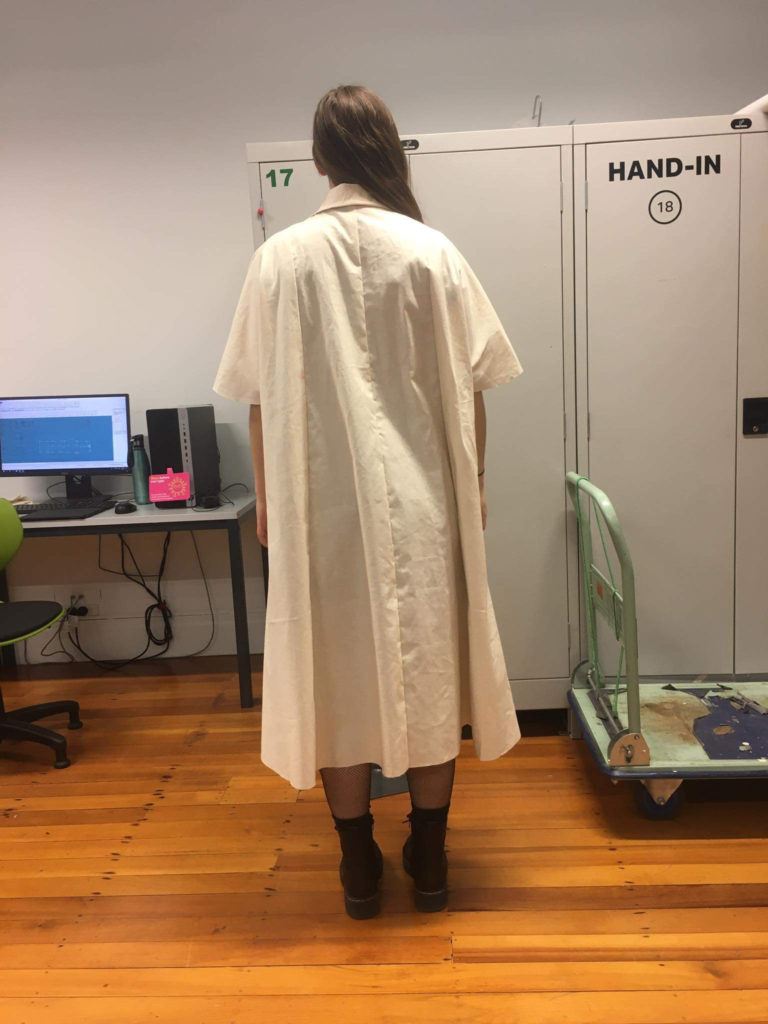
Transferring the new patterns to CLO3d. I simplified some of them because folds are a bit of a mission when first starting.
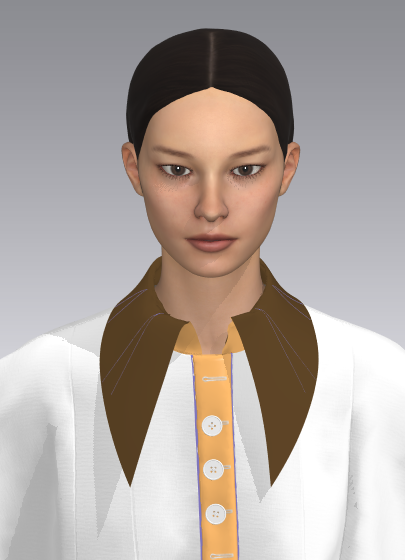
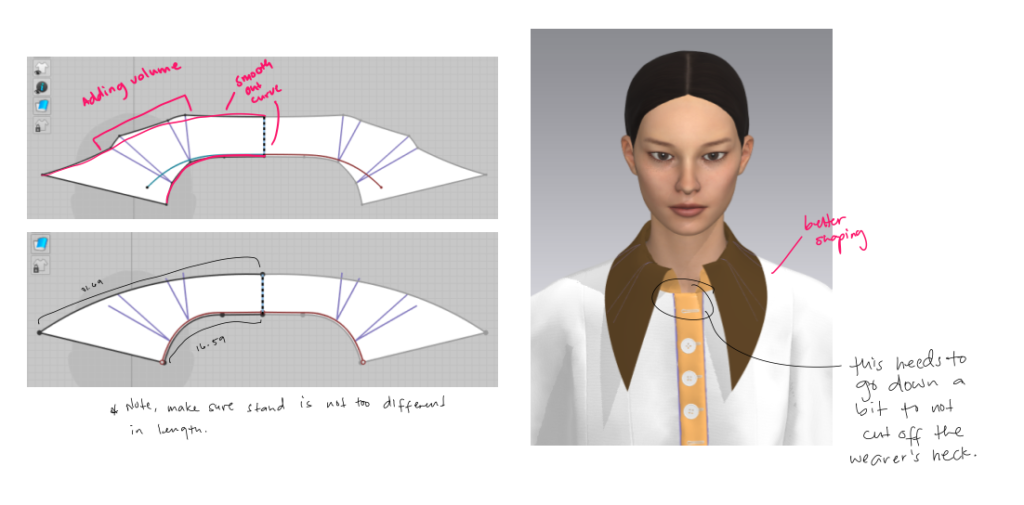
I wanted to try what would happen if I give the collar more volume. I liked the end result, but instead of having rounded shape. I ended up having a final collar piece with shaping at the shoulder. I changed the final piece in Accumark.

Final Thoughts…
Simple: I am adding 3D into my process as soon as I can afford the subscription. It cancels a lot of toiling process to get to the final, saves on fabric and time. I can even start using it after the sketching process, because I can do iterations while already making the pattern.
Model: Maria Knowles
No Comments