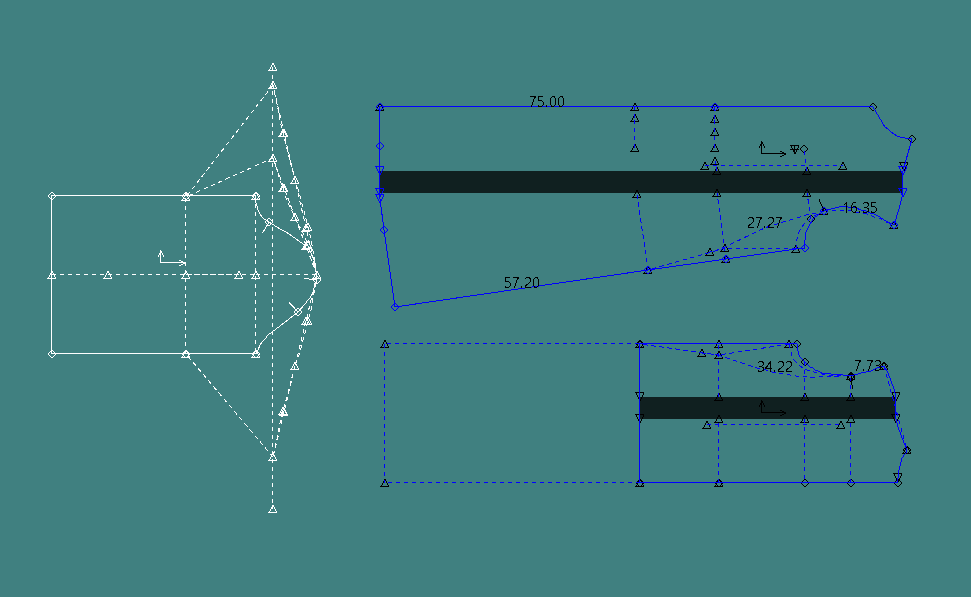
I have final arrived at the design I’m hoping. Therefore, what’s left was to clean up the patterns for the final garments to make and submit. The placket I first toiled with didn’t have enough length to cover the raw edges. So I just added extra length. Below is the first two ...
This is the first time I used CLO3D program. I always knew about it but never had the chance to try it out. and since there were only 30 days of trial I can use, I timed it so I can use it for this project. That is if the program is straight forward enough. It took a bit of tutorials before I got ...
The first mentoring session, I knew I needed to ask about the lineup and improve it a little bit. I took Sue’s suggestion to lengthen the dress and make it a maxi length to create drama. Who knew adding a few more centimeters can change the look of a garment. (I always forget this sort of ...
After years of rummaging the Internet for tutorials and information on how to make a Terno sleeve, I have finally found the best tutorial that show how to pattern make and also sew this sleeve. I also bought a book (still in the possession of my sister in the Philippine, in which she took photos of ...
The promotional part is a collaborative work with my dear friend Regine Panlilio, who’s been on board with this project since day one. Actually, since second year. I’ve let her have free reign in the media part of the project, visualize it her way, but keeping in line with the ...
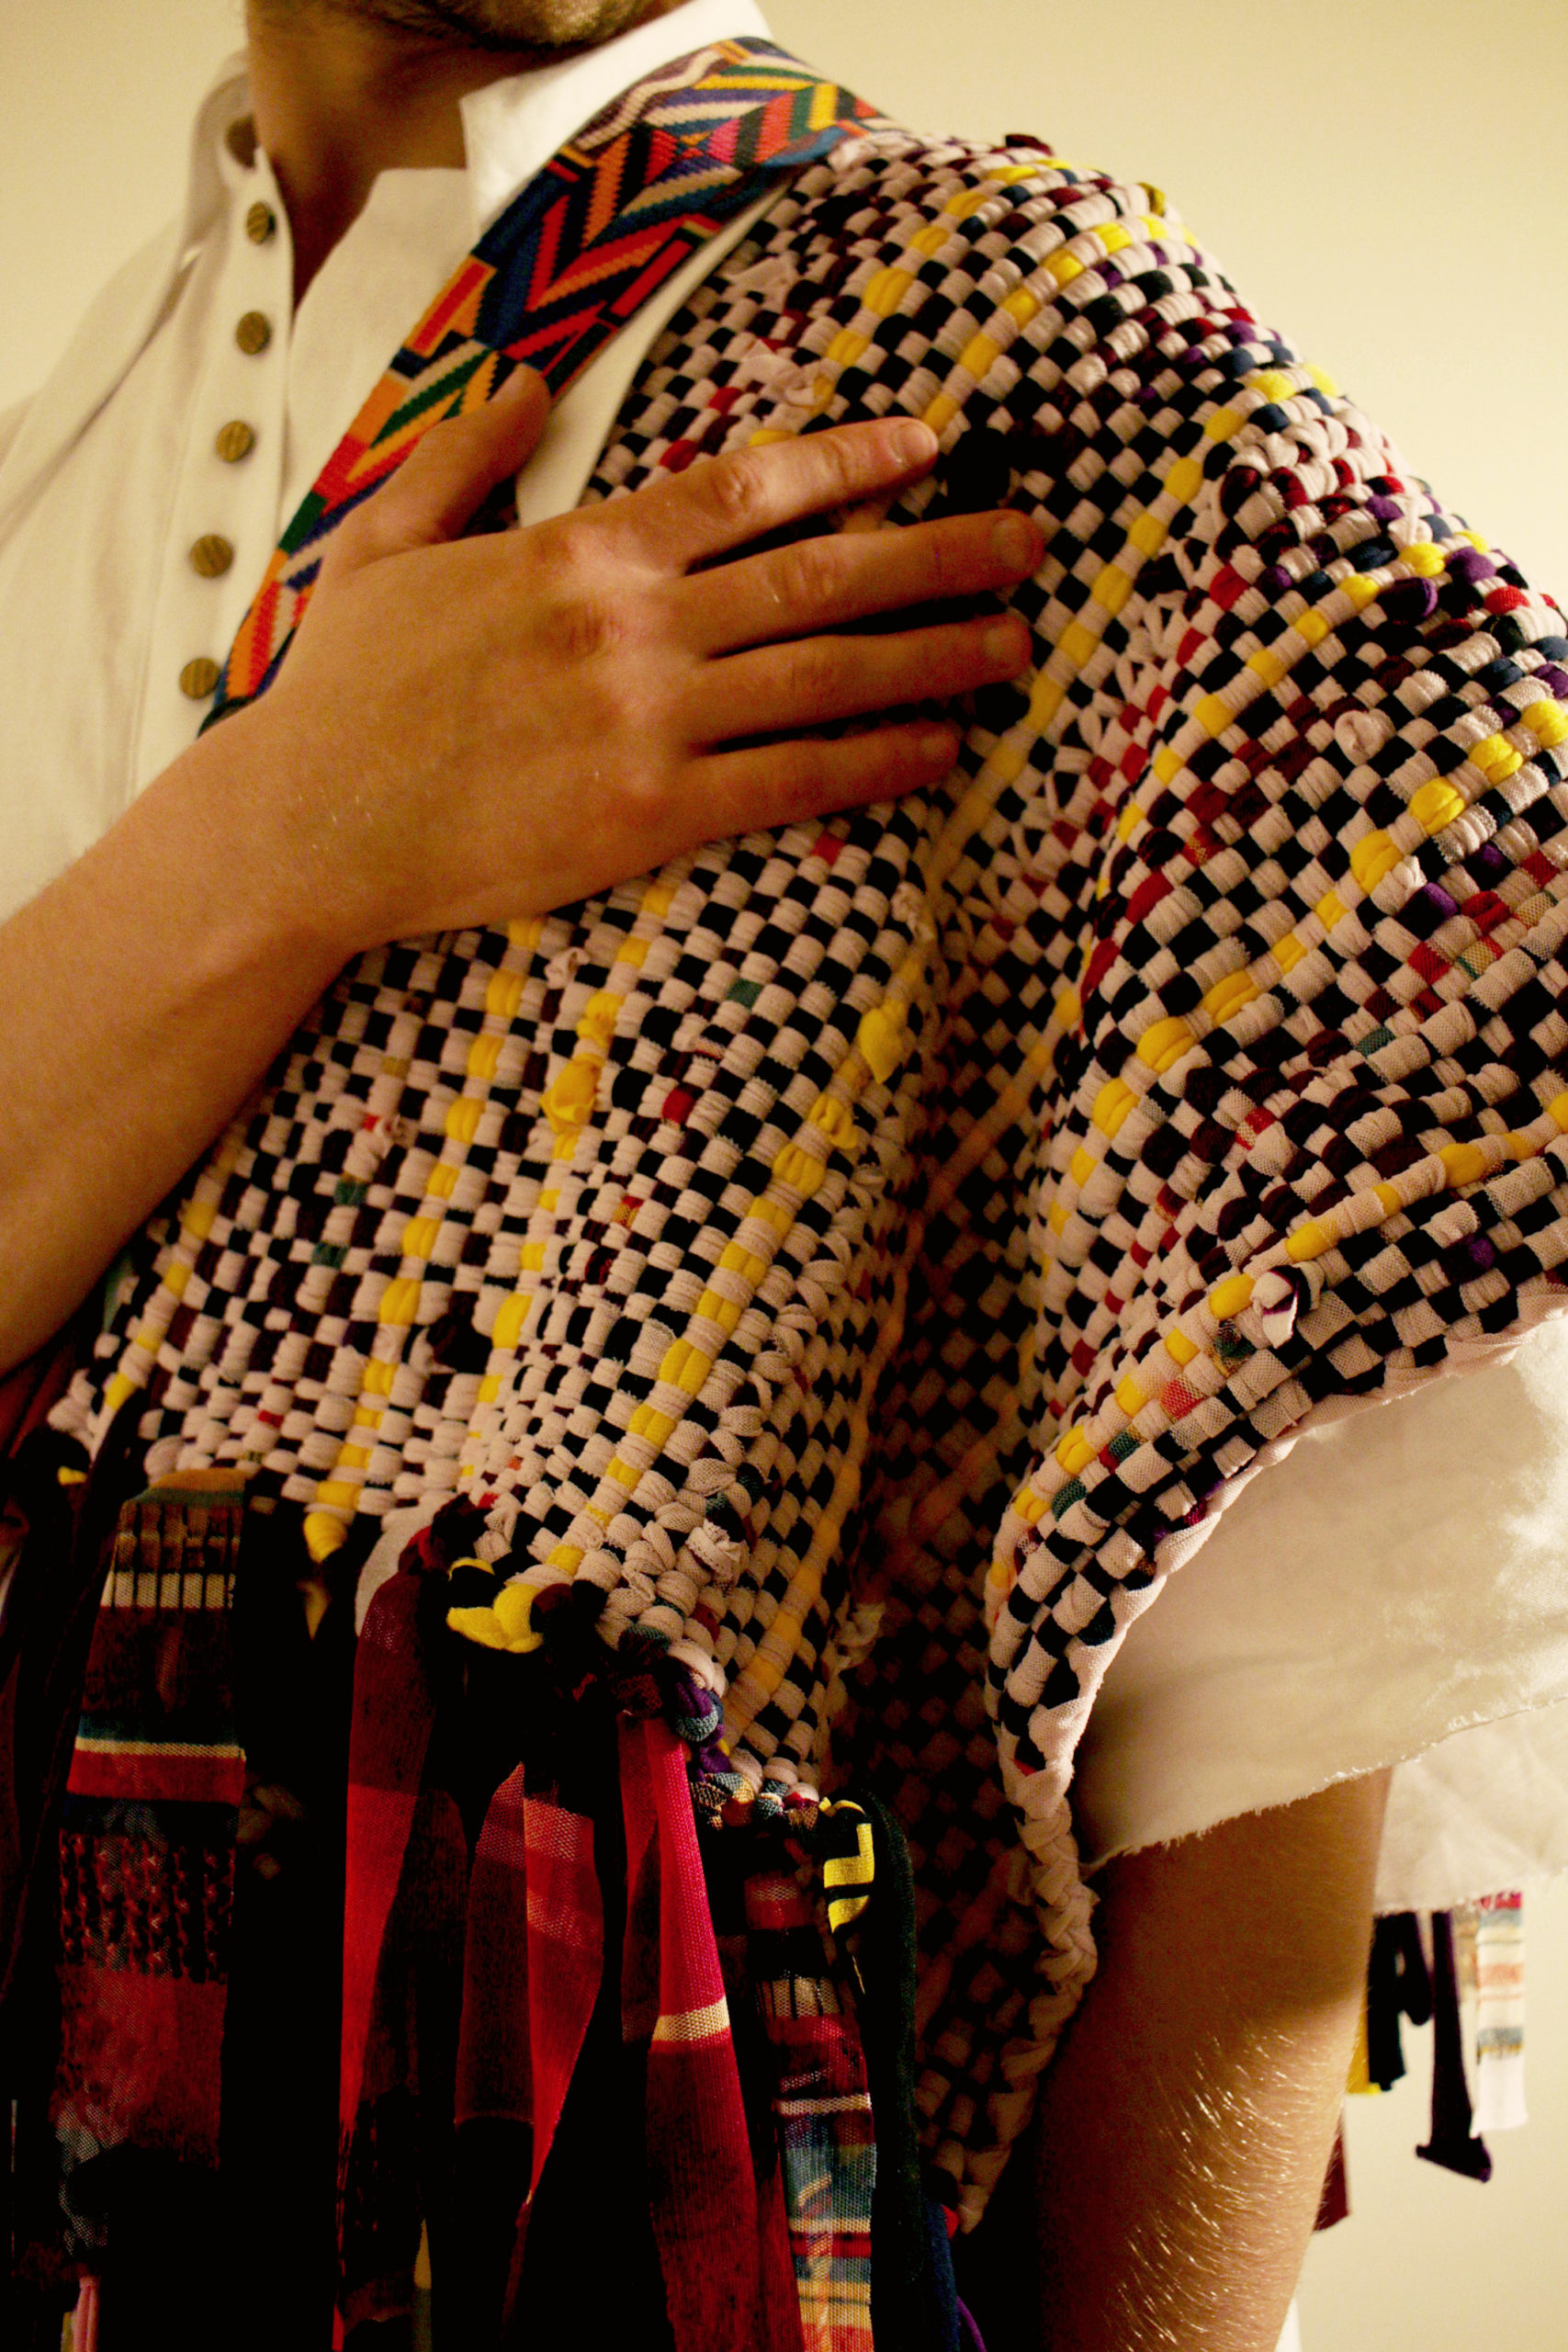
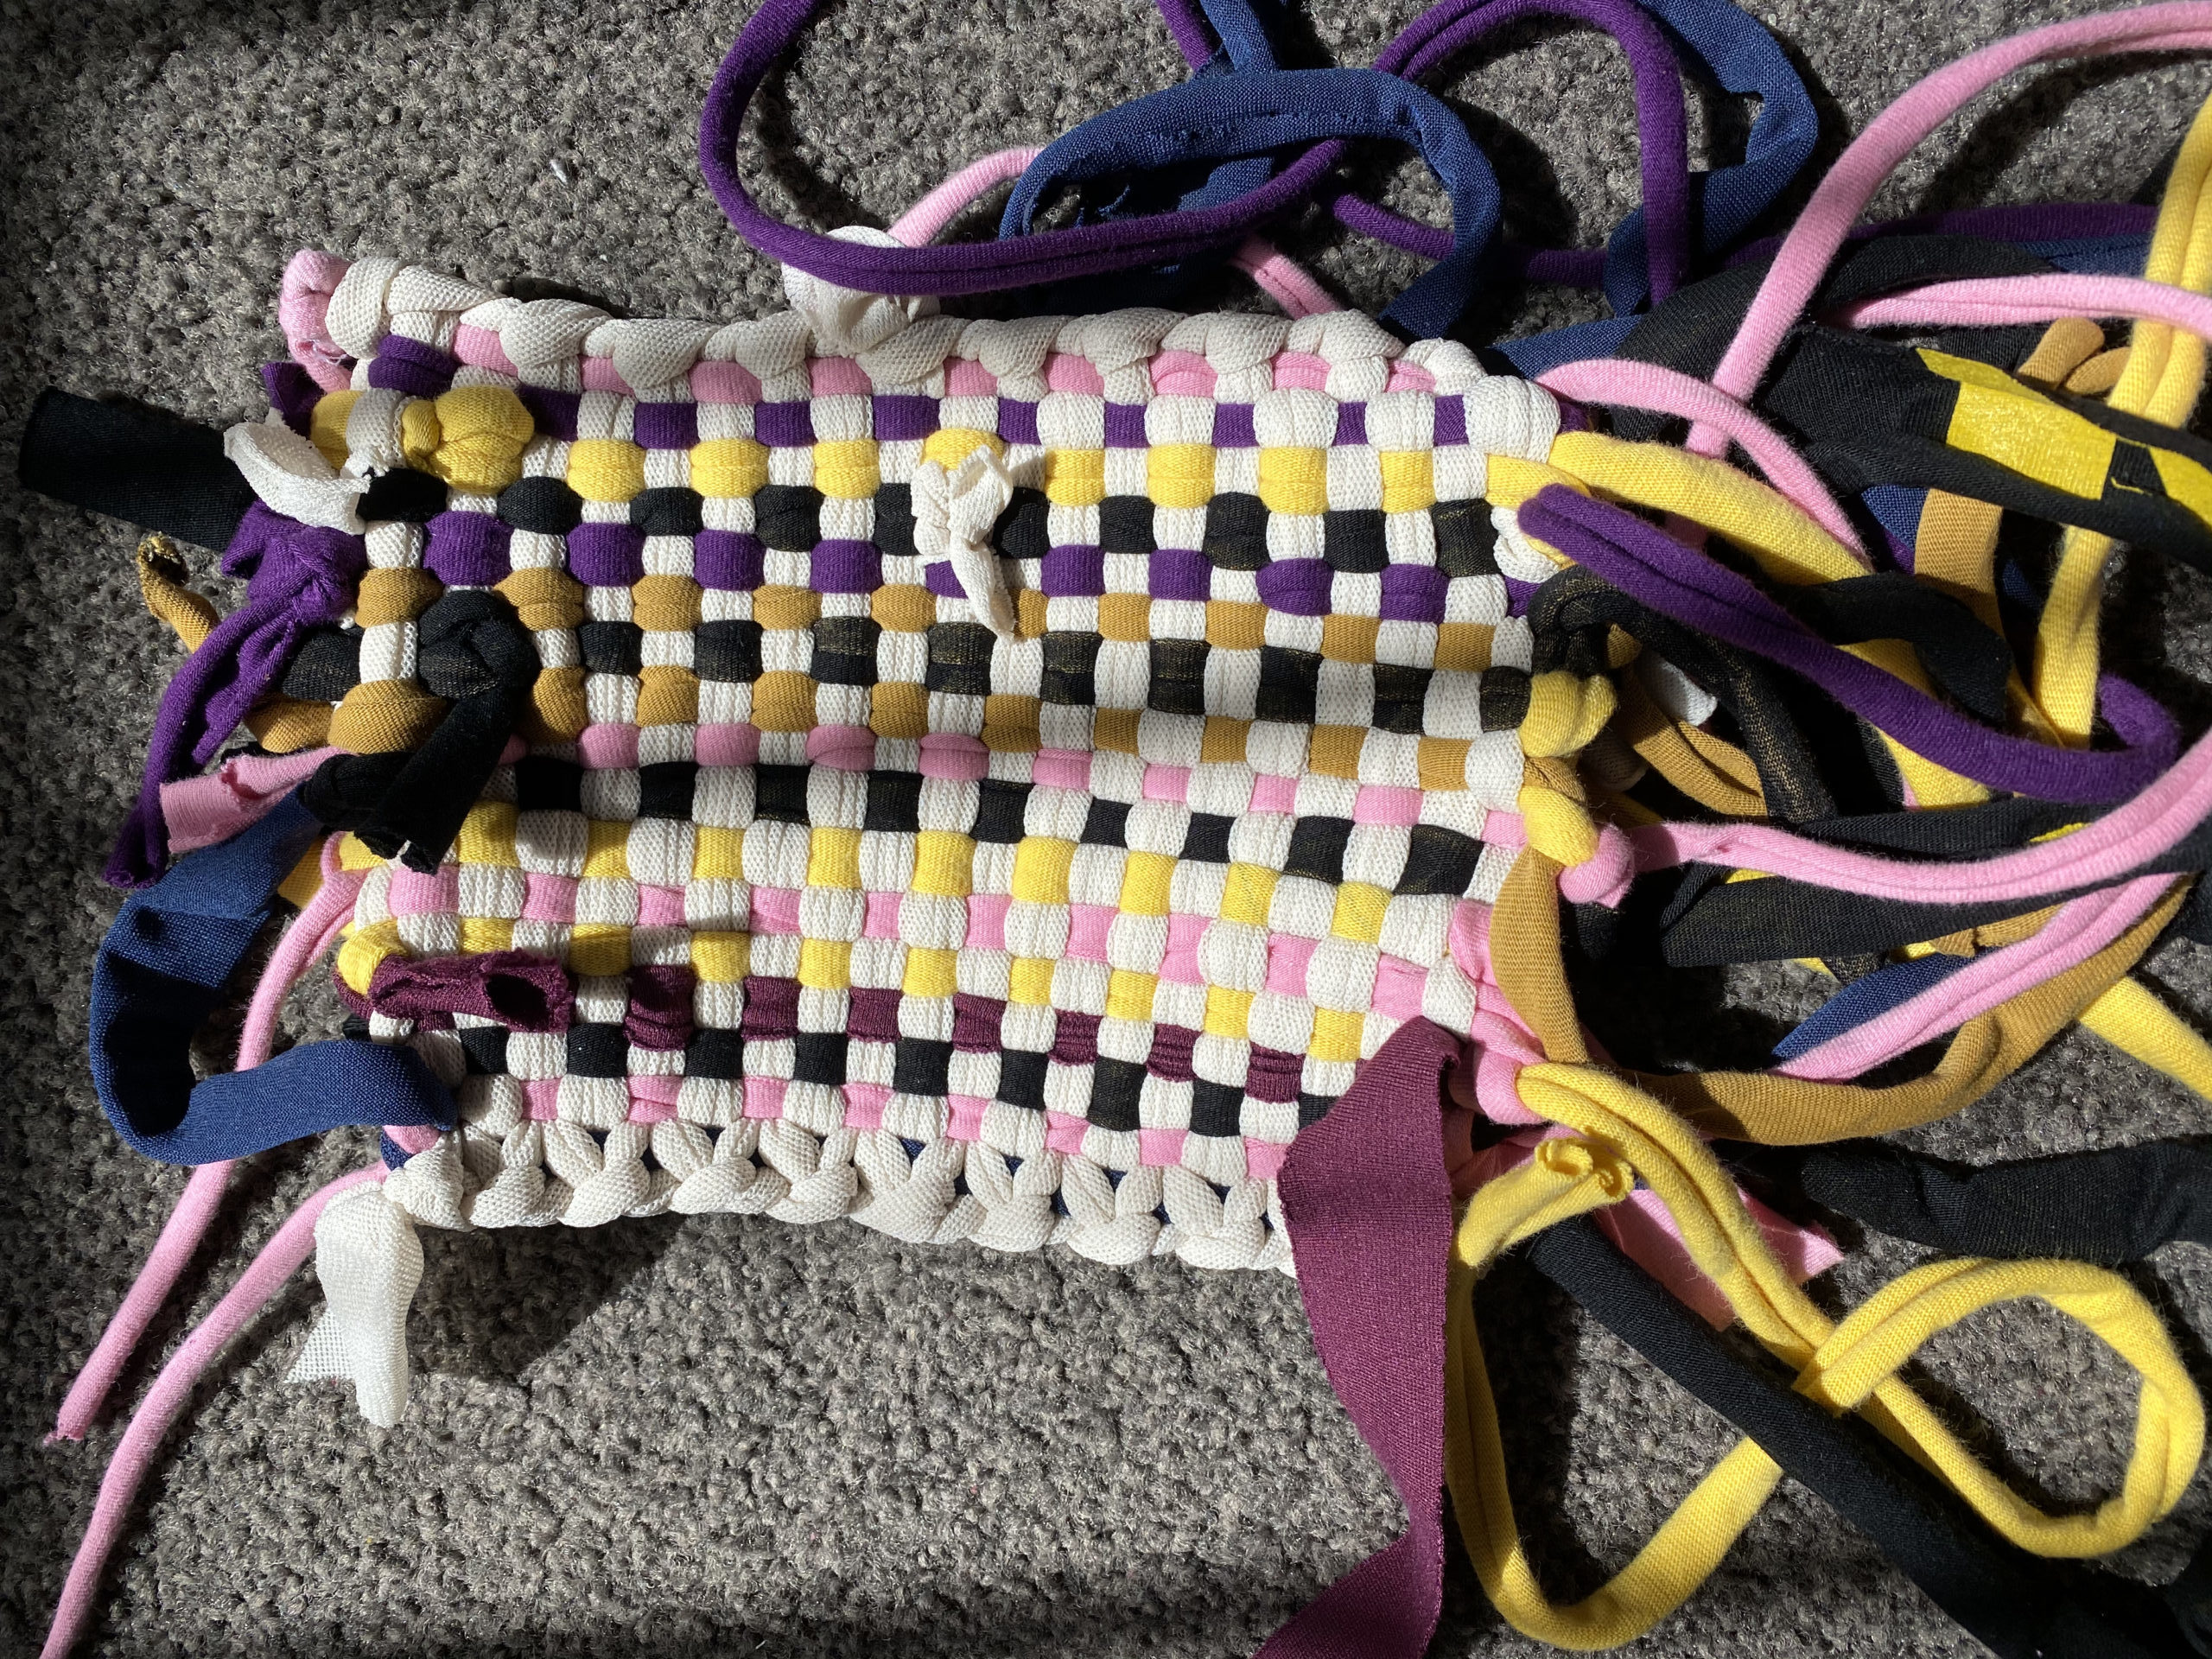
Oh the weaving process. Probably the most overwhelming task out of any of my work. Suddenly, I had to unlearn the past few years to make this garment happen. It’s not that I don’t need planning. It’s just a different planning than pattern making. Maths were involved, especially ...
While this may seem like the simplest design, this design perhaps was the one that had so many iterations of the pattern. From using various blocks to changing the back designs to adding new features. There wasn’t any specificity in this design except for three: it’s cropped, it has a terno sleeve ...
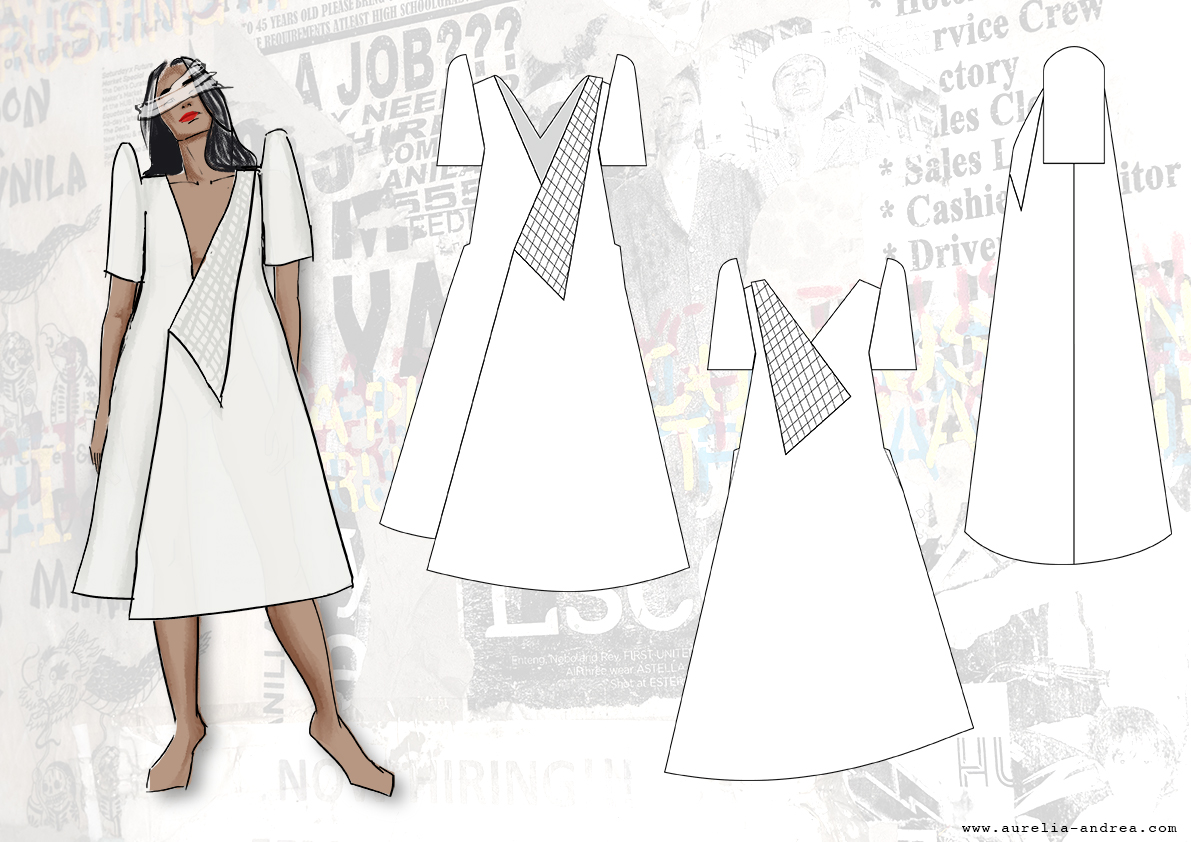
There were multiple changes made with the patterns of the Barong dress to finesse its look and details. I began by removing the fullness of the dress that made it oversize, but I kept the volume of the original pattern at the hem. As mentioned previously, the center front panel doesn’t need a ...
I started the collection with the Barong dress as it is the most familiar and I know the parts that needs to go. It’s the one in which the design is finalized and will only be changed in details instead of the whole design. This is the starting block I used to start my pattern making for this ...


